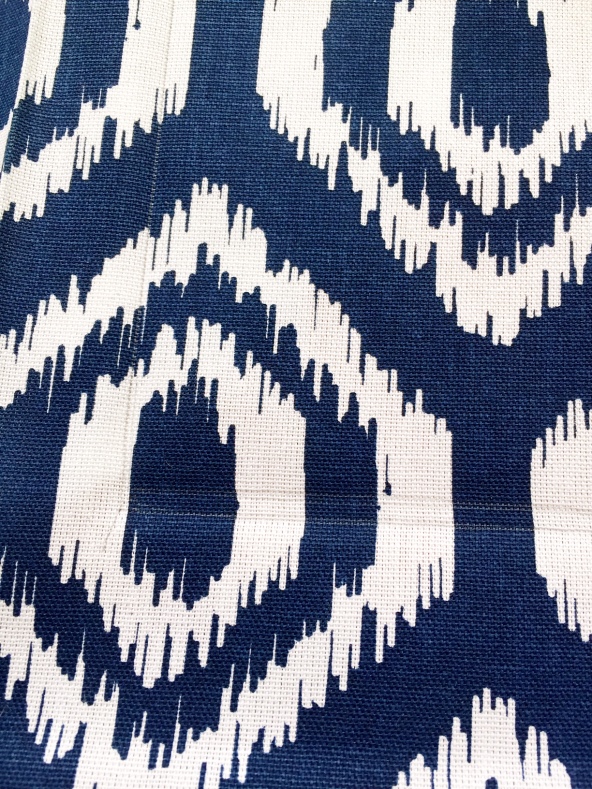
If you follow me on Instagram, you might have been waiting for this post to come since I shared that picture of this beautiful navy fabric. Well, today is the day! It’s finally here. I’m sharing with you how I took my boring old cork board and turned it into a gorgeous inspiration board to hang right by my desk.
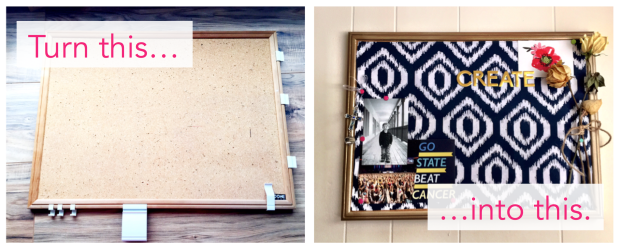
I’ve always had pictures of my family hung around my desk–and they certainly inspire me–but I wanted something more. I wanted those pictures to be with images that spark creativity and words that speak to my inner artist. So, I decided to step it up a notch. The board certainly served it’s purpose before, but now it’s a joy to look at, and I’m not even done adding my inspirational pieces yet. Let me show you how I did it.
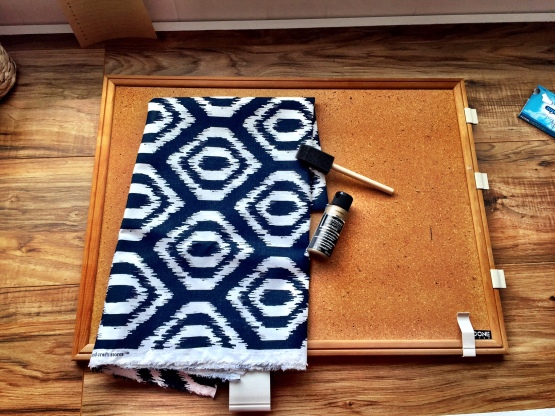
For this project, you’ll need an old (or brand new) bulletin or cork board that you want to make fancy, some fabric, paint, a paint brush or foam brush, a hot clue gun and some scissors.
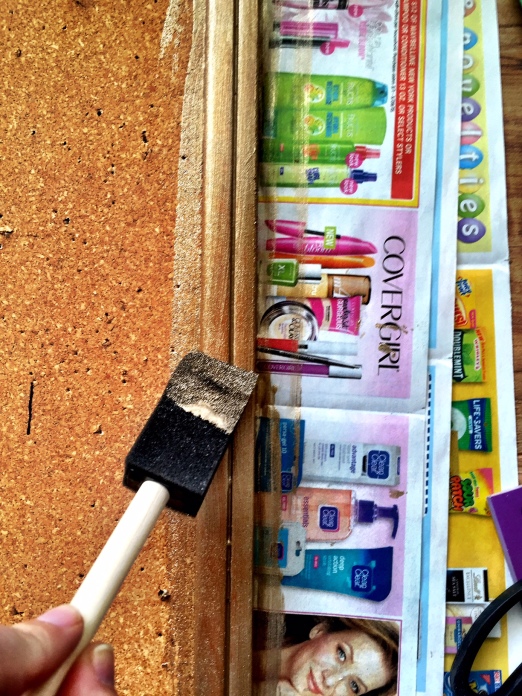
Start by laying out newspaper or kraft paper on your desk, table, surface, whatever and start painting the boarder of your cork board. You don’t have to worry about getting some on the cork part, you’ll be covering that up later.
You may need to do two or three coats. I found the wood absorbed a lot of the paint and so the gold looked slightly transparent. No worries — just keep on painting until it looks just how you want it. Let it dry.
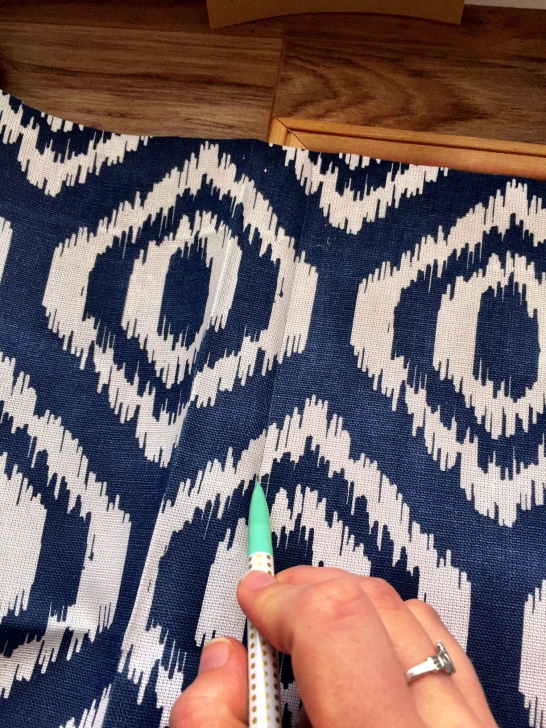
Next, lay out your fabric on the cork board. Holding the fabric taught, take a pencil and trace along the outer edge of the cork board using the border as your guide. You can see in the picture above that I just pressed down a little and dragged the pencil right along the edge.
Continue this process along all four sides, but be sure to hold the fabric taught and smooth out any wrinkles. If you have a particularly creased fabric, it might be a good idea to iron it before starting this (I really wish I would have). As you can tell, I messed up a couple of times and had to re-draw my lines.
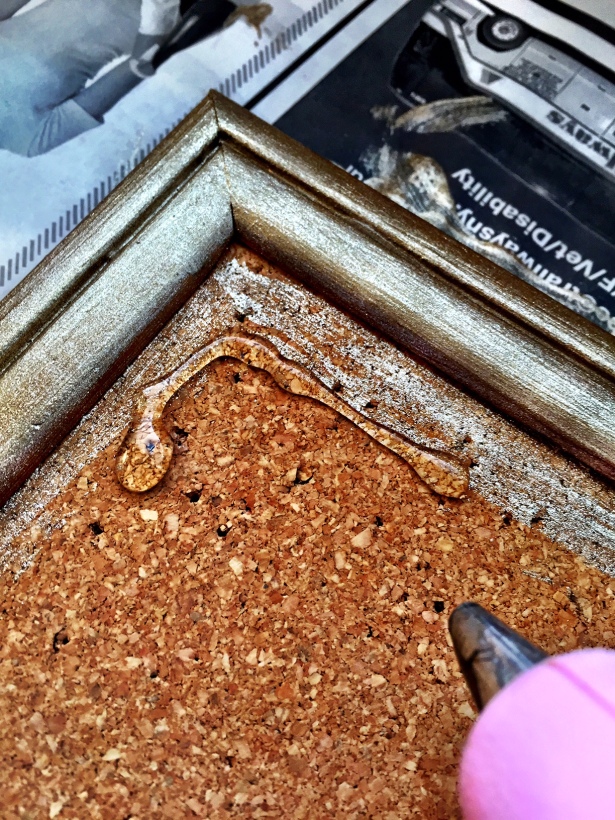
After you’ve got your lines drawn, cut out around the boarder you traced on the fabric so you have the perfect size piece to fit inside the boarder of your cork board. Then, take your hot clue gun and draw an “L” in one corner. Place the corresponding corner of fabric against it and hold. Working one corner at a time, repeat this process until the fabric is secure on the cork board. Make sure, again, you’re holding the fabric tight to the board to avoid any wrinkling, bubbling or creasing.
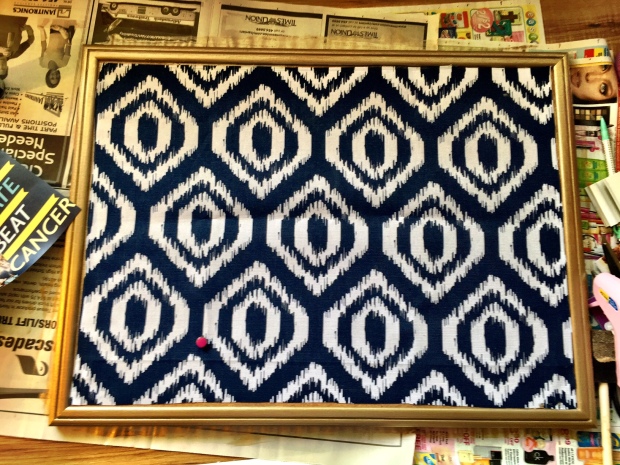
When you’re all done, it should look like the picture above (I put a thumb tack in there to test it out).
And now the fun part begins. It’s time to decorate!
Fill this board with images of people, places and things that inspire you. Print out some of the best work you’ve done or post pictures of other’s work that gets you excited. Use words, stickers, postcards and pages. If you like to travel, post pictures of places you want to go or things you want to do. This board should be about the future and the things that inspire you to make it a better place for yourself and those around you.
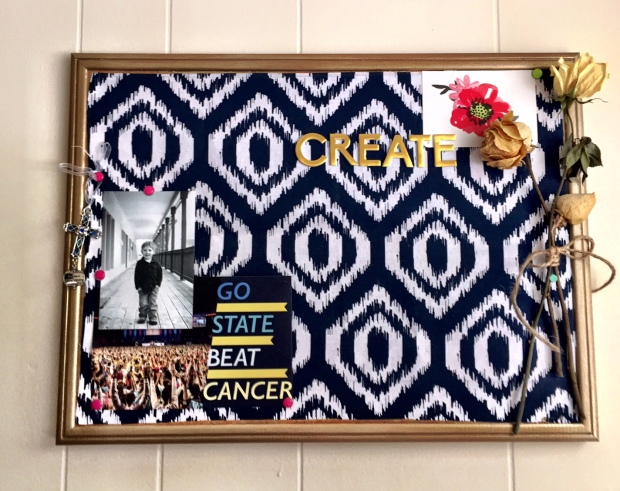
I’m not yet done decorating mine, but so far I have a picture of Sammy (my nephew), Matt and I on graduation day, a pretty little drawing of a flower and a postcard of THON, one of my favorite events and philanthropies. I also have one dried rose for each anniversary Matt has brought be roses. I used some foam letters I found at the Target dollar spot to write the word “create.” I have plans to print out some pictures of places I want to travel to and work that makes me happy inside.
How are you going to decorate your inspiration board? I would love to see pictures! Leave them in the comments below or share them with me on Facebook, Twitter or Instagram.
Never miss a post by subscribing to Life in Order. Simply submit your e-mail in the right sidebar. Catch you guys next time!


I LOVE THIS! I’m going to be moving next school year and I can’t wait to decorate my room with cute things like this. Hopefully I have time to try it out soon!
xoxo,
Lara
Sea Foam & Diamonds
That’s awesome! Let me know how it turns out if you get a chance to try! 🙂
This is amazing! Pretty and inspirational. Love it!
xo,
Tatum
thepaceblog.wordpress.com
Thanks, Tatum! 🙂
It looks beautiful! This is such a great way to make a cork board appear a little bit fancier and WAY more inspirational.
Thank you Jordyn!
LOVE that board! To hold inspiration, I took a big, empty picture frame, spray painted it black, and attached chicken fencing to the back. I added lots of glitter and hot glued big bows!
http://thealwaysblog.com
That’s an awesome idea – everything is better with glitter and bows 🙂
The final product is so cute!
I love inspiration boards.
xoxo, Jenny || Breakfast at Lillys
Thanks, Jenny!
I have a DIY inspiration cork board in my room! I love it.
XO
Ashley
privateschoolprepster.blogspot.com
So cute! That pattern is PERFECT!
xo,
Stephanie
Diary of a Debutante
http://www.thediaryofadebutante.com
This is adorable! I love it. 🙂 This would look so cute on a gallery wall!
Allyssa | Life with Lyss
Love this! It would be perfect for a dorm room 🙂
Annie N Belle
I love this idea!! I used to make these for my little’s when I was in college!
-Morgan
This is the cutest cork board I’ve ever seen. I have to make one!!
XO Kay | Fashionably Kay
Makayla – Let me know how it goes! I’d love to see your final product for inspiration 🙂
You did an amazing job with this. It’s so cute!
Oh my goodness, I love this! You’ve inspired me to update my “mood board” from just a plain cork board!
XX, SS || A Little Seersucker Sass
What an awesome idea! I think I’ll be decorating my cork board before my next semester! Great tutorial also btw!